


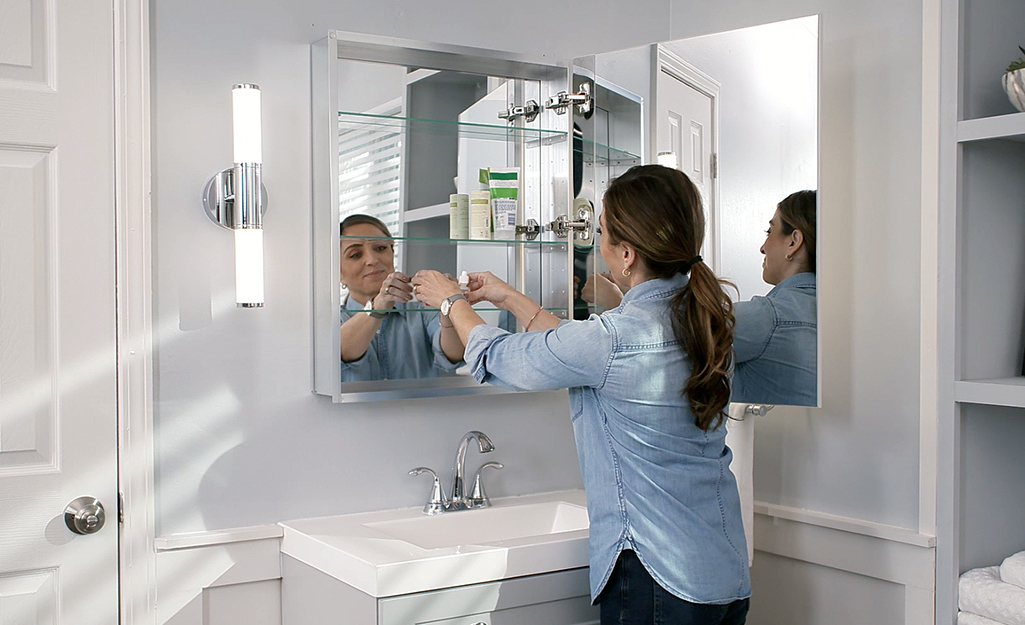
There is a moment in every small bathroom project where you realize the walls are the only unused space left. Getting a medicine cabinet mirror recessed into that cavity is how you claim it, trading four to six inches of projecting box for a mirror that sits nearly flush against the tile.
The look is cleaner and the room feels wider. The cost is that you are now cutting into a structural, and often plumbed, wall. This is a straightforward job when the cavity cooperates and a genuinely expensive one when it does not, so the checking happens before the buying.
What the wall has to give you
Recessed installation is limited by framing, not by preference. Three measurements decide whether a model is even a candidate.
- Clear width: studs on standard 16-inch centers leave roughly 14.5 inches of open space between them. That caps a single-bay cabinet, and anything wider means cutting a stud and installing a header.
- Usable depth: a 2×4 wall gives about 3.5 inches once the drywall is off. A 2×6 wall gives roughly 5.5 inches. Measure your tallest regular item, because a standard shampoo bottle will not stand up in 3.5 inches.
- Rough opening tolerance: manufacturers publish a rough opening dimension that is slightly larger than the cabinet body. Build to that number, not to the exterior dimensions on the listing.
Find out what is already in there
This is the step people skip, and it is the one that turns a weekend project into a plumber’s invoice.
- Plumbing stacks: the vent line serving your sink often runs straight up the wall directly behind the mirror. That is the single most common blocker.
- Electrical: wiring for the existing vanity light usually crosses the same cavity, and there may be a junction box hidden behind the drywall.
- Wet walls: any wall shared with a shower or a back-to-back bathroom carries a higher chance of supply lines running through it.
- Exterior walls: insulation and a vapor barrier make recessing possible but messier, and cutting into that layer has thermal consequences worth thinking about in a cold climate.
A stud finder with an AC and metal scan mode gets you most of the way. A two-inch inspection hole inside the area you plan to cut anyway confirms it in ten minutes.
Choosing the cabinet itself
Once you know the cavity, the shortlist gets short quickly. These are the details that separate one flush-mounted unit from another.
- Mirror quality: look for copper-free, moisture-resistant backing. Cheap silvering in a humid room develops black edge spotting within a few years, and replacing a recessed unit is far more work than replacing a hanging one.
- Door configuration: single doors suit a narrow bay. A tri-view spans a wider opening and gives you angled side panels, which is the only practical way to see the back of your own head.
- Interior finish: mirrored backs make a shallow cabinet feel deeper. Adjustable shelves matter more than shelf count, since a mouthwash bottle and a toothpaste tube need different spacing.
- Hardware: soft-close hinges and magnetic catches sound trivial until you live with a door that slams at six in the morning.
- Body material: stainless steel or aluminum survives daily humidity better than particleboard, which swells at the edges over time.
- Lighting and power: some recessed models integrate LED lighting, built-in outlets, and USB ports. Anything electrical should carry ETL or UL certification, and lighting is worth checking for CRI 90 or higher so skin tone reads accurately.
Getting the installation right
The cut is the irreversible part. Everything before it is reversible, and everything after it is finishing work.
- Locate first, cut second. Mark your stud edges, confirm the cavity is clear, then cut the drywall to the rough opening dimension.
- Frame the opening. Add horizontal blocking at the top and bottom of the cut so the cabinet has something solid to screw into. Skipping this leaves the unit hanging on drywall.
- Set the height by eye line, not by the old mirror. Aim for the mirror center near the eye level of whoever uses the room most, usually somewhere around 60 to 66 inches from the floor.
- Plan the power before the wall closes up. Hardwiring a lit cabinet is easy while the cavity is open and awkward afterward.
- Shim for plumb. A cabinet that is a degree off will show as an uneven reveal against the tile line, which is the detail everyone notices.
Support matters more here than on a surface-mount job, because there is no easy undo. Retailers such as Allsumhome that publish rough opening specifications up front and offer engineer support by phone take most of the guesswork out of the cut, and a properly set recessed cabinet will read as part of the wall rather than something bolted onto it.
