


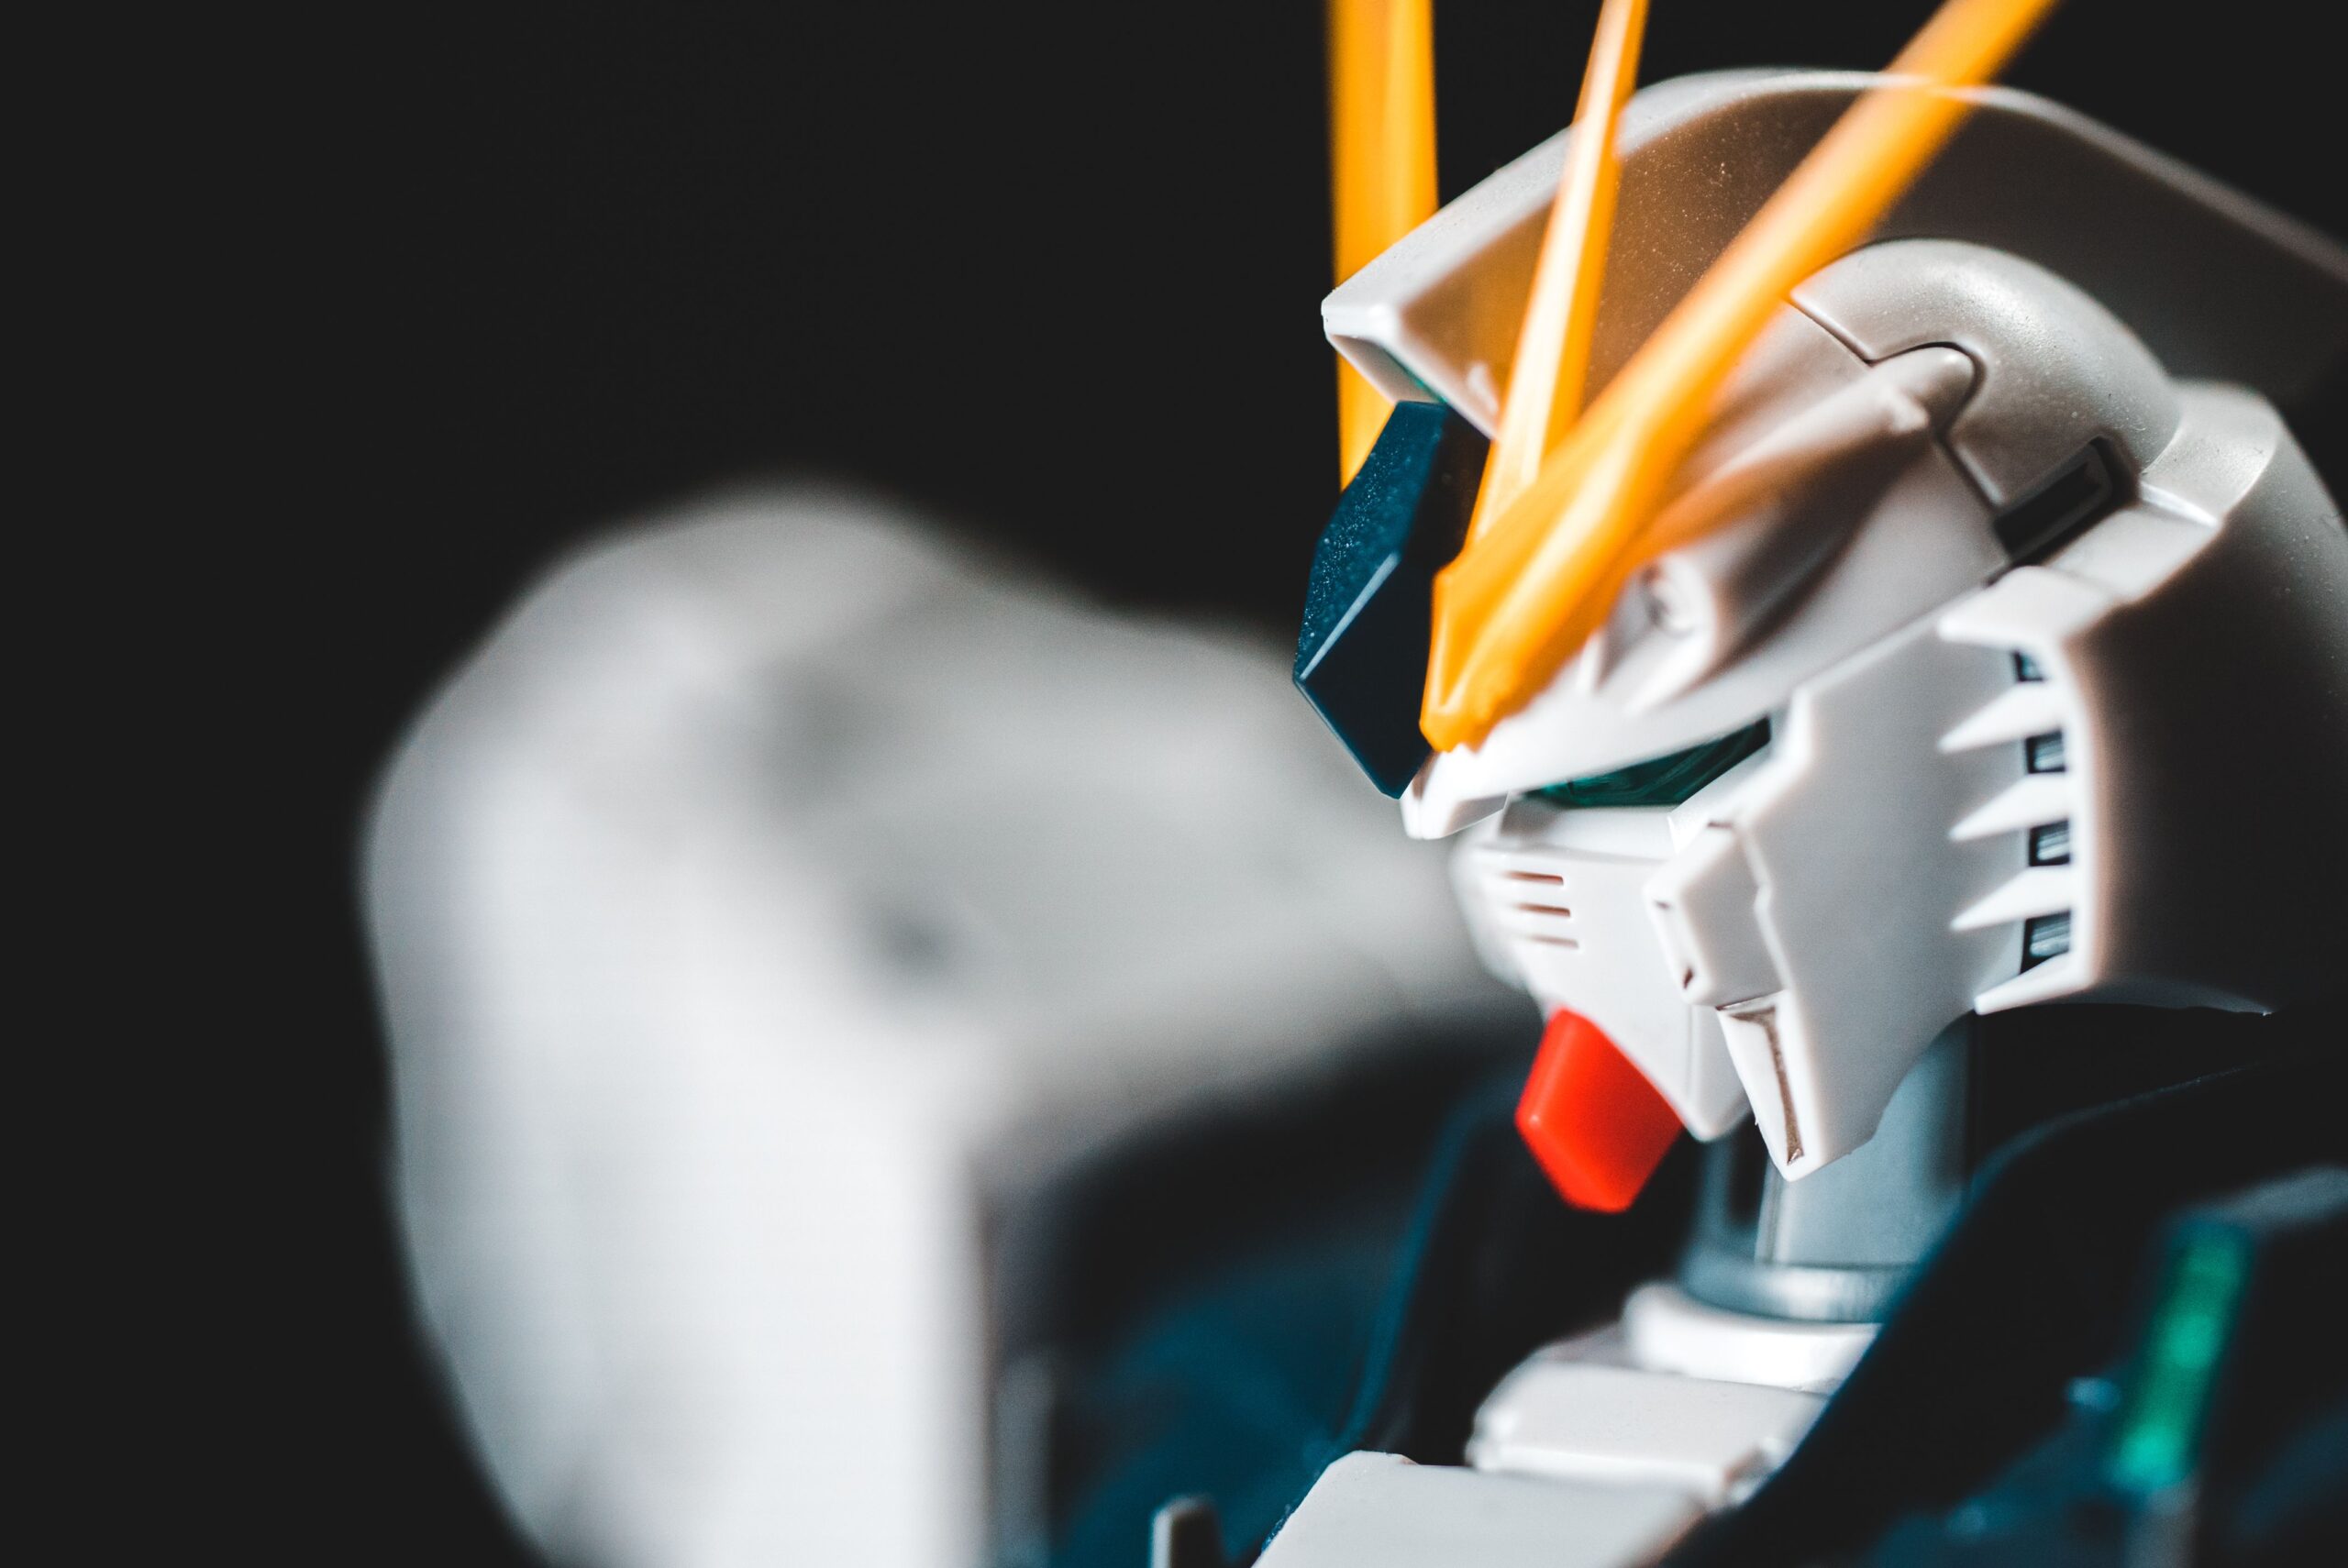
Opening a fresh model kit box reveals a world of intricate mechanical possibilities. Building plastic models lets hobbyists construct detailed robot figures piece by piece through hands-on assembly. Transforming those raw plastic parts on the runners into a stunning display figure requires the right approach. Patience during every step of the build process guarantees a far cleaner final presentation.
Stepping into the hobby involves learning about the proper gear and picking the right starting projects. Having quality tools makes every cut smoother and keeps the plastic looking clean. With a little preparation, anyone can turn a simple pile of parts into an impressive shelf centerpiece.
Selecting the Perfect Kit for Your Skill Level
Model kits come in different scales and complexity levels designed to match various experience stages. Beginners usually enjoy starting with High Grade kits because they offer snap-together assembly without requiring glue. These entry projects help builders learn how parts fit together without feeling overwhelmed by tiny components.
Advanced builders often choose Master Grade or Real Grade models that feature detailed inner frames and layered armor pieces. Specialty stores like GUNNZO provide various grades that allow builders to test their skills on complex mechanical assemblies. Matching the project to current building skills ensures the hobby remains fun and rewarding. Taking on more intricate kits gives experienced fans a chance to practice precision fitting and advanced surface techniques. Over time, tackling these challenging models helps hobbyists refine their overall craft and confidence.
Gathering Essential Cutting and Preparation Tools
Building model kits successfully depends heavily on using tools made specifically for plastic models, starting with single-blade side cutters that snip parts away cleanly without stressing the material. Using basic household scissors can pinch the plastic and leave noticeable white marks behind, whereas a sharp hobby knife easily trims away any leftover nubs left on the frame. Glass files and sanding sponges then smooth out those cut areas so armor plates sit completely flush, ensuring that proper prep gear keeps the final model looking sharp and professionally assembled.
Adding Depth With Panel Lining Techniques
Adding surface details turns a plain plastic assembly into a detailed visual piece. Panel lining involves running fine ink or pour-type markers into the small recessed grooves molded along the armor panels. This essential process highlights subtle molded details that might otherwise remain hidden on solid plastic surfaces.
This simple technique accentuates mechanical seams and creates realistic shadow effects across the whole body. Erasing excess ink with a soft eraser or cotton swab leaves clean dark lines inside every groove.
Black ink works well on dark armor plates, while gray ink offers a subtle natural shadow look on white armor. Mastering this quick detailing step adds instant depth without requiring a full custom paint job. Taking a few extra minutes with marker lines elevates the overall model above a basic out-of-box assembly.
Protecting Your Build With Proper Topcoats
Applying a protective topcoat serves as an essential final step before putting a model on display, locking down panel lines and dry-transfer decals so they do not scratch off during handling. The clear spray layer unifies the surface appearance of different plastic pieces while eliminating the shiny toy look from raw molded plastic for a realistic scale appearance. Whether using flat topcoats for a realistic finish or gloss topcoats for a smooth shine on specialized components, spraying thin protective layers ensures the finished build preserves its pristine look on the shelf.
Displaying Your Completed Model With Confidence
Posing a finished build requires sturdy action bases designed to support dynamic aerial stances. Standard articulated joints allow models to stand on flat surfaces, but plastic display stands enable airborne battle positions. Placing figures on stable stands prevents balance issues and protects delicate joints from unexpected falls. Using proper supports lets builders display their models in dramatic action poses safely.
Customizing displays with extra weapon accessories or waterslide decals gives every showcase a unique personal touch. Rotating different builds onto the main shelf keeps the collection looking fresh and engaging over time. Taking time to properly pose every figure transforms simple plastic kits into dynamic art pieces.
